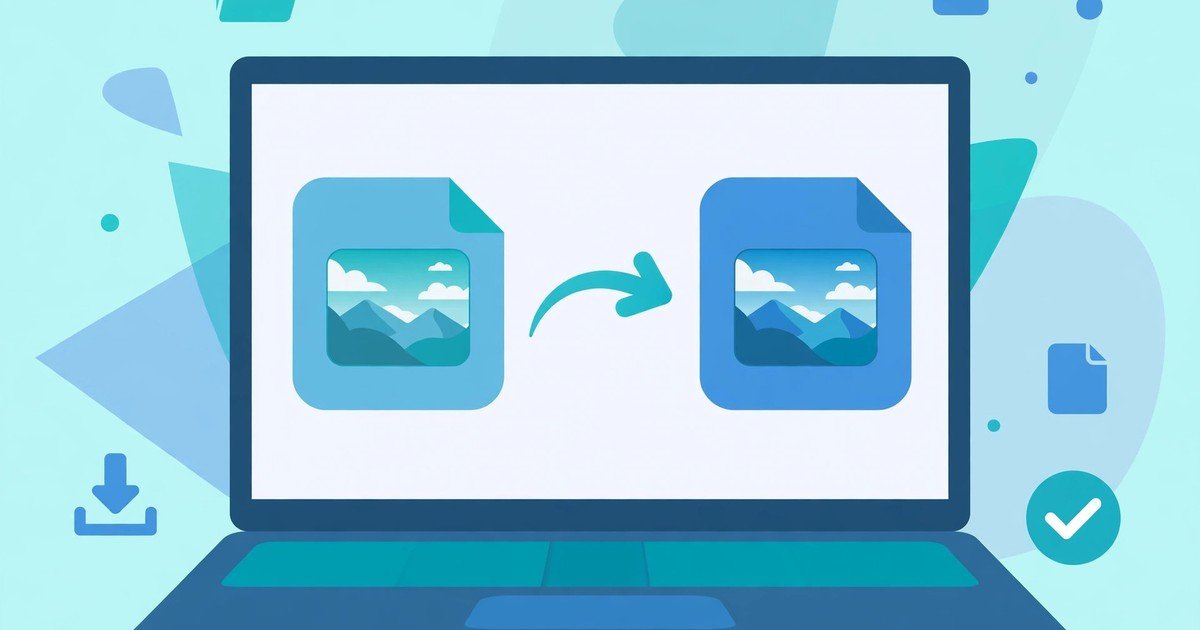
The fastest way to save WebP as JPG on Windows 11 is to open the image in Paint, then choose File, then Save as, then JPEG picture. It takes under a minute and needs no extra software. This guide also covers the Photos app, a browser extension that saves images directly as JPG, and a batch method for converting many files at once.
WebP is a modern image format from Google. Websites use it because it keeps files small and pages fast. That is good for browsing, but it can be annoying when you want to edit, print or upload an image somewhere that only accepts JPG. The steps below fix that problem without losing noticeable quality in most cases.
Why Chrome Saves Images as WebP
When you right click an image and choose Save image as, Chrome downloads the file in the format the website served. Many sites now serve WebP by default, even if the original photo was a JPG. The site does this to cut loading times. Your download is not broken. It is simply the smaller, web friendly version of the same picture.
Renaming the file from .webp to .jpg does not convert it. The file still contains WebP data, just with the wrong name. Some programs will refuse to open it, and some upload forms will reject it. You need a real conversion, which changes the data inside the file. Every method below does that properly.
One more point matters before you convert. JPG does not support transparency. If your WebP image has a transparent background, converting it to JPG will fill the transparent areas, usually with white or black. For logos and graphics with transparency, save as PNG instead. For photos, JPG is the right choice.
Method 1: Convert One Image with Paint
Paint is already on Windows 11, and it handles WebP well. Use this method for one image or a small handful of images.
First, find the WebP file in File Explorer. Right click it, choose Open with, then choose Paint. If Paint does not appear in the list, open Paint from the Start menu, click File, then Open, then browse to your file.
Once the image is open, click File in the top left corner. Hover over Save as, then click JPEG picture. Choose the folder where you want the JPG, give the file a name if you want a different one, and click Save. Paint creates a new JPG file and leaves your original WebP file untouched, so you can compare the two.
Check the result before you delete the original. Open the new JPG and look at it at full size. For a normal photo, you should see no visible difference. If the image looks washed out or the background turned solid where it was transparent, that is the JPG transparency limit described above, not an error. Save that kind of image as PNG instead.
Method 2: Convert with the Photos App
The Windows Photos app offers a second built in option. It suits people who already browse their pictures in Photos.
Right click the WebP file, choose Open with, then choose Photos. When the image opens, click the three dots in the top right corner, then choose Save as. In the save window, change the file type to JPG, pick your folder and click Save.
Photos converts one file at a time, so it is not the best choice for a large batch. It is handy, though, if you only need a quick conversion and Photos is already your default image viewer. If the Save as option does not show JPG on your system, use Paint instead. Both apps produce the same quality for a simple conversion.
Method 3: Save Directly as JPG in Your Browser
If you convert WebP files often, the quickest fix is to skip the WebP download altogether. A browser extension such as Save image as Type adds a right click option that lets you save an image directly as JPG or PNG. Install it from the Chrome Web Store, then right click any image and choose the format you want before you save.
Check any extension before you install it. Read its permissions, look at its reviews and developer details, and remove it if it asks for more access than saving images requires. Our guide to the Chrome extensions safety guide explains which permissions are risky and how to audit the extensions you already have.
This method saves time, but it has one limit. It can only save the version of the image that the website serves. If a site serves a small WebP thumbnail, the JPG you save will be that same small image. For full size originals, open the image first and check its size before you save it.
Method 4: Convert Many Files at Once
Paint and Photos work one file at a time. For a folder full of WebP images, use a free batch converter such as IrfanView. Download it only from its official website, and install the plugins package as well, since that adds full format support.
Open IrfanView and press B to open the batch conversion window. Add the WebP files you want to convert, or add a whole folder. Set the output format to JPG and choose an output folder that is different from the originals, so you never overwrite your source files by accident. Click Start Batch, and IrfanView converts every file in seconds.
In the batch window, you can also set the JPG quality. A quality setting of 85 to 90 keeps photos looking sharp while keeping the file size sensible. Going to 100 makes the file much larger with almost no visible gain. If you plan to upload the images to a website, smaller files load faster, which also helps your site speed. Our guide to Core Web Vitals explains why image size matters for loading performance.
Avoid uploading private photos to random online converters when you have a batch to convert. A desktop tool keeps your files on your own PC. Online converters are fine for a single public image, but they are a needless privacy risk for personal photos or work documents.
JPG or PNG: Which Should You Pick
Pick JPG for photos and for any image where a small file size matters more than perfect detail. JPG uses lossy compression, which means it drops some data to shrink the file. At normal viewing sizes, that loss is hard to spot.
Pick PNG for logos, screenshots with sharp text, and any image with transparency. PNG keeps every pixel exactly, so text stays crisp and transparent areas stay transparent. The trade off is a larger file size. If you are converting a different format and want the same no extra software approach, read our guide on how to convert HEIC to JPG without extra software. The same principle applies: match the format to the image, and keep the original until you have checked the result.
Troubleshooting Common Problems
If Paint will not open your WebP file, update Windows first. Older Paint versions had patchy WebP support, and a Windows Update usually fixes it. If the problem persists, open the file in Photos or in your browser, then use the Save as step from there.
If your converted JPG looks blurry, check the size of the original WebP. A small source image cannot become a sharp large JPG. Conversion never adds detail that was not there. Download the full size image from the website if you can, and convert that version instead.
If a website or app still rejects your JPG, check the file extension and the file size. Some upload forms have a maximum file size, and some check the real format inside the file rather than the name. Reconvert with Paint and save to a new folder, then upload the fresh file. That rules out a bad rename or a partly downloaded original.
FAQs
Can I just rename a .webp file to .jpg?
No. Renaming only changes the name, not the data inside the file. Some programs will still refuse to open it, and some upload forms will reject it. Convert the file properly with Paint, Photos or a batch tool.
Does converting WebP to JPG lose quality?
For most photos, the loss is too small to notice. JPG compression drops some data, but at a quality setting of 85 to 90, a converted photo looks the same at normal viewing sizes. Keep the original WebP until you have checked the JPG.
Why does my transparent image get a white background after conversion?
JPG does not support transparency, so transparent areas are filled in during conversion, usually with white. If you need transparency, save the image as PNG instead of JPG.
What is the best free batch converter for WebP to JPG?
IrfanView is a solid free choice on Windows, with a batch window that converts a whole folder at once. Download it from its official website, set JPG as the output format, and use a separate output folder so your originals stay safe.
Can I stop Chrome saving images as WebP in the first place?
Chrome itself has no setting for this, because the website chooses the format it serves. A save as type browser extension is the practical workaround. It lets you pick JPG or PNG at the moment you save, without a separate conversion step.
Conclusion
Saving WebP as JPG on Windows 11 is simple once you pick the right method for the job. Use Paint for a single image, Photos if it is already your viewer, a browser extension if you convert images every day, and IrfanView batch conversion for a whole folder. Remember the two rules that prevent most problems: never just rename the file, and keep the original until you have checked the converted JPG. For photos, JPG is the right format. For transparency or sharp text, choose PNG instead.