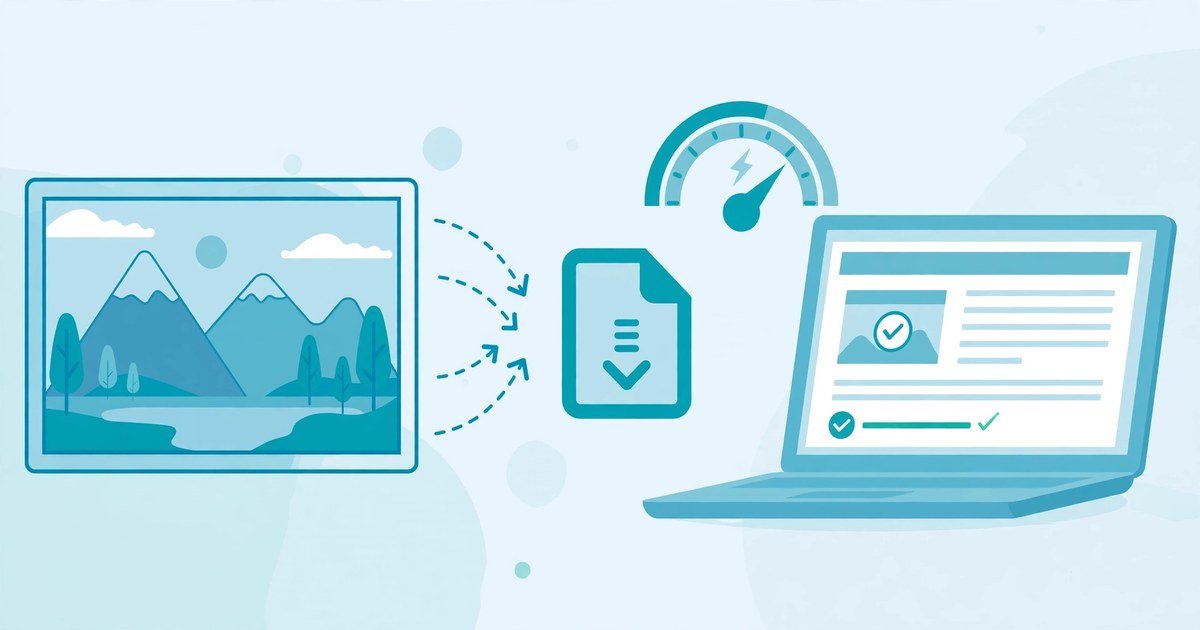
Yes, you can compress images for your website without losing quality. Resize each image to the size it will actually display at, pick the right format for the job, then compress at a sensible quality setting. A photo saved at 75 to 85 percent quality in WebP or JPG usually looks identical to the original on screen, yet the file can be 50 to 80 percent smaller. This guide shows you the exact workflow, the best free tools, and the mistakes to avoid.
Lossy vs Lossless: Know the Difference First
Every compressor works in one of two ways. Lossy compression removes some image data for good. It targets detail your eyes are unlikely to notice, such as tiny colour shifts in busy areas. The file shrinks a lot, often by 50 to 90 percent. Lossless compression keeps every pixel exactly as it was. It repacks the file more efficiently and strips unneeded data. The saving is modest, usually 10 to 30 percent, but quality is pixel perfect.
Use lossy compression for photos, banners, and product shots. Use lossless compression for logos, icons, screenshots, and anything with text or sharp edges. When people say “without losing quality”, they usually mean without visible loss. Lossy compression at the right setting gives you exactly that.
Step 1: Resize Before You Compress
Resizing matters more than the compression setting. A photo straight from a phone can be 4,000 pixels wide. A blog image rarely displays wider than 800 to 1,200 pixels. Shrinking it to the display size can cut the file by more than compression ever could.
Resize to the largest size the image will display at. For crisp results on high resolution screens, use up to double the display width. A hero image shown at 1,200 pixels wide can be saved at 1,200 to 2,400 pixels wide. A small thumbnail shown at 300 pixels wide never needs to be 2,000 pixels wide.
Always resize from the original file, never from an already compressed copy. Each lossy save discards a little more detail. Keep your original files in a separate folder and work from copies.
Step 2: Pick the Right Format
Format choice decides how small the file can get before quality suffers. Pick the format before you compress, not after.
JPG suits photos and complex images with lots of colour. It is lossy only and has no transparency. PNG suits logos, icons, screenshots, and graphics that need transparency. It is lossless, so it stays sharp, but it is heavy for photos. WebP suits almost everything on a modern website. It handles photos and transparency, and it is typically 25 to 34 percent smaller than an equivalent JPG at the same quality, according to Google. AVIF compresses even better, but support is newer, so keep WebP as the safe default for now.
A simple rule: photos go to WebP or JPG, graphics and logos go to PNG or WebP, and anything with transparency goes to PNG or WebP. If you already have WebP files and need them as JPGs for another use, our guide on how to save WebP as JPG on Windows 11 walks through four easy methods.
Step 3: Compress Photos at the Right Quality
Most tools give you a quality slider from 0 to 100. Lower means a smaller file. The sweet spot for website photos is 75 to 85 percent. At that level, most people cannot tell the compressed image from the original. Drop below 60 percent and you will start to see blocky patches and colour banding in smooth areas such as skies. Push above 85 percent and the file grows fast with no visible gain.
For WebP photos, 65 to 75 percent often looks just as good as JPG at 80 percent, because the format is more efficient. Test with your own images. Zoom into a detailed area, such as hair or foliage, and compare the original with the compressed version side by side. If you cannot see a difference at full screen size, the setting is right.
One warning: quality numbers do not carry across formats. Quality 80 in JPG is not the same as quality 80 in WebP. Judge each format by eye, not by the number alone.
Step 4: Shrink PNGs Without Blurring Text and Logos
PNG files need a different approach. Because PNG is lossless, a standard optimiser can only repack the file and strip metadata such as camera details and GPS coordinates. That typically saves 10 to 30 percent with zero quality change.
For bigger savings, use colour quantisation. This technique reduces the image to a smaller palette of up to 256 carefully chosen colours. A logo or simple graphic still looks almost identical, but the file can shrink by 50 to 70 percent. TinyPNG uses this method, which is why its PNG results beat most browser tools.
If a PNG does not need transparency, convert it to WebP instead. A lossless WebP is usually smaller than the same PNG, and a lossy WebP at high quality is smaller still. Keep the original PNG as your master file.
The Best Free Tools Compared
You do not need Photoshop or paid software. These free tools cover every situation.
Squoosh is the best choice for one image that matters, such as a hero image. It is a free web app from Google Chrome Labs. It runs entirely in your browser, so your image never uploads anywhere. You get a side by side preview, real codec controls, and support for JPG, PNG, WebP, AVIF, and JPEG XL. Its only weakness is that it handles one image at a time.
TinyPNG is the best choice for a quick batch on the web. Drop in up to 20 images of up to 5 MB each on the free tier and download them as a zip. It picks the settings itself and produces very small PNGs. The trade off is that your images upload to its servers and are kept for up to 48 hours, so avoid it for private or sensitive images.
ImageOptim is the best choice for Mac users with many files. It is free and open source. Drop a folder of images onto it and it strips metadata and applies smart compression. It is lossless by default, so it will never make an image look worse. Turn on lossy mode in the preferences for much bigger savings.
ShortPixel is the best choice if you run WordPress. Its plugin compresses each image when you upload it and can generate WebP and AVIF copies automatically. It offers lossy, glossy, and lossless modes. The free plan gives 100 credits a month, which covers a small site comfortably.
For Windows users, FileOptimizer is a free desktop tool that works offline and is lossless by default. It suits anyone who wants to process a whole folder without uploading anything.
Batch Compression for a Whole Website
Compressing one image at a time is fine for a new post. For an existing site with hundreds of images, you need a bulk workflow.
Start with the biggest files. Sort your media library or image folder by file size and fix the largest 20 first. Those few files usually cause most of the slowdown. Then work through the rest in batches of 20 to 50.
If your site runs on WordPress, a plugin such as ShortPixel or Smush can bulk optimise your existing media library. Smush is free and skips images over 5 MB on its free plan, so check your largest files first. Run the bulk job in small batches and check a few images after each batch. If anything looks wrong, you still have the originals.
Always keep a backup of your original images before a bulk run. A backup costs little and saves you if a setting turns out too aggressive.
WordPress Tips: Compress on Upload
The easiest way to keep images small is to compress them before they ever reach your site. Make compression part of your publishing routine: resize, compress, then upload. It takes under a minute per image and stops large files piling up in your media library.
WordPress already creates several smaller copies of each uploaded image for different display sizes. That helps, but it does not compress the original. A plugin that compresses on upload closes that gap. ShortPixel and Smush both do this, and both can serve WebP versions to browsers that support them.
Also check your theme settings. Some themes upload a full size header image even when it displays at half that width. If your theme lets you set a maximum image width, set it to match your content area, usually 1,200 pixels or less.
How to Check Your Images Are Small Enough
After compressing, verify the result instead of guessing. Aim for these targets: under 100 KB for a typical blog image, under 200 KB for a large hero image, and under 50 KB for a thumbnail. A photo that still weighs 1 MB after compression needs resizing, a format change, or a lower quality setting.
Run your page through Google PageSpeed Insights. It flags images that could be smaller and tells you how much each one could save. Google Lighthouse, built into Chrome DevTools, re-compresses JPG images at quality 85 and flags any where that would save 4 KB or more. Use these reports to find the worst offenders first.
Image size also feeds directly into Core Web Vitals, the speed signals Google uses in ranking. Large images slow your Largest Contentful Paint score, which is often the image at the top of the page. Compressing that one image can lift the whole page score.
Mistakes That Ruin Image Quality
Most quality problems come from a few avoidable mistakes. First, never compress the same image twice. Export from the original every time, because each lossy save discards more detail. Second, never upload a photo straight from your phone without resizing. Third, never save a photo as PNG just because it looks sharper. A photo saved as PNG can be five times larger than the same photo as a quality 80 JPG, with no visible difference.
Fourth, do not strip the colour profile from images where colour accuracy matters, such as product photos. Most tools remove it by default, which is fine for blog images, but check the result on a product page. Fifth, do not forget retina screens. An image saved at exactly the display size can look soft on a high resolution screen, so use up to double the display width for important images.
Finally, watch your file names and formats when converting between types. Phone photos often arrive as HEIC files, which browsers cannot display. Our guide to convert HEIC to JPG without extra software shows how to convert them before you compress and upload.
FAQs
What quality setting should I use for website images?
Use 75 to 85 percent for JPG photos and 65 to 75 percent for WebP photos. At these settings, the difference from the original is invisible on screen for most images. Check detailed areas such as hair, foliage, and gradients before you publish.
Can I compress an image without any quality loss at all?
Yes, with lossless compression. It rewrites the file more efficiently without changing a single pixel. The saving is modest, usually 10 to 30 percent. For bigger savings with no visible loss, use lossy compression at a sensible quality setting instead.
Which is better for websites, JPG or WebP?
WebP is better for most website images. It is typically 25 to 34 percent smaller than an equivalent JPG at the same quality, and it supports transparency. Every modern browser supports WebP, so it is safe to use as your default format in 2026.
Does image compression help SEO?
Yes. Smaller images load faster, which improves Core Web Vitals and the user experience. Google uses page speed as a ranking signal, and visitors leave slow pages sooner. Compression is one of the quickest SEO wins a site owner can make.
Is it safe to upload images to a free online compressor?
It depends on the tool. Browser based tools such as Squoosh process the image on your device, so nothing leaves your computer. Tools such as TinyPNG upload your image and keep it for up to 48 hours. Avoid uploading private, personal, or client images to any tool that uploads. Use a local tool for those.
Conclusion
Compressing images without losing quality comes down to a simple workflow. Resize the image to the size it will display at, pick the right format, then compress at a sensible quality setting. Use Squoosh for single important images, TinyPNG for quick batches, and a WordPress plugin such as ShortPixel to compress on upload. Keep your originals, check the result with PageSpeed Insights, and make compression part of every post you publish. Your pages will load faster, your visitors will stay longer, and nobody will see the difference.